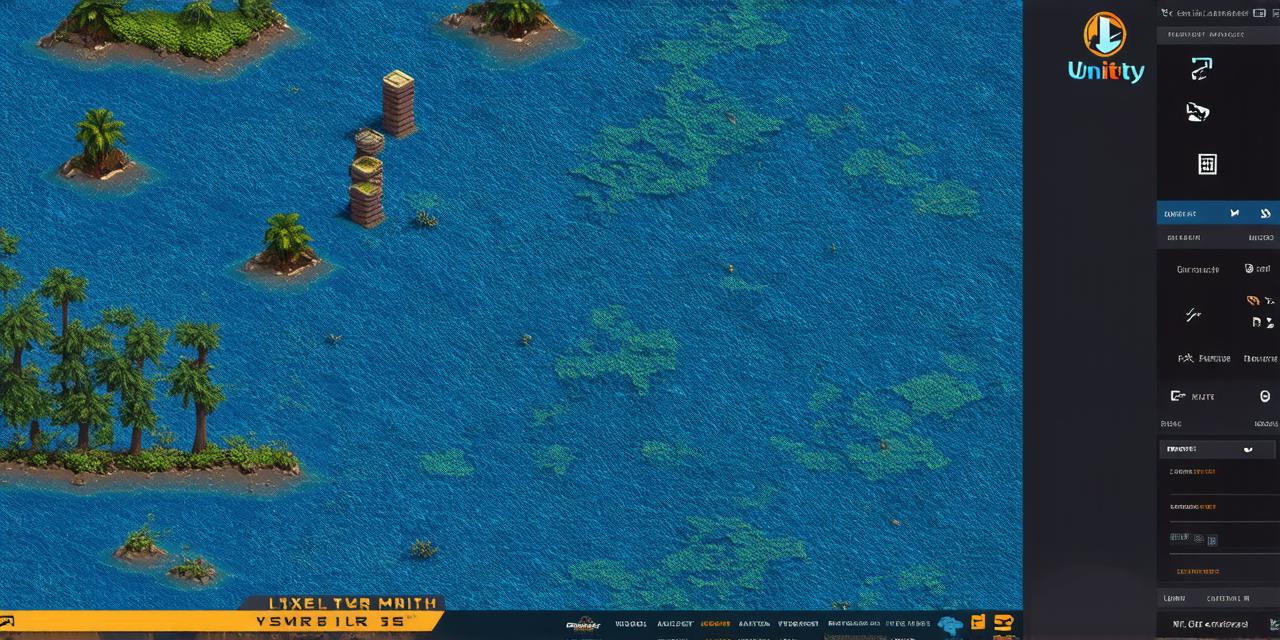
Isometric tilemaps are commonly used in video games, particularly those with a retro aesthetic or a focus on puzzle-solving. In this tutorial, we will walk you through the process of creating an isometric tilemap in Unity. We will cover everything from setting up the basic tilemap to adding customization and interactivity.
Setting Up the Basic Tilemap
First, let’s create a new project in Unity. Open Unity and create a new project by selecting “File” > “New Project”. In the window that appears, select “2D” as the template, then click “Next”. Give your project a name and set the location where you want to save it. Click “Create Project”.
Once the project is created, we need to add a tilemap layer. Select “Window” > “Tile” > “New Tilemap Asset”. This will create a new asset in your project called “Isometric Tilemap”. Drag this asset onto the Hierarchy view.
Next, we need to create some tiles for our map. Right-click on the “Assets” folder in the Project view and select “Create” > “Sprite”. Give each tile a unique name, such as “Tile1”, “Tile2”, etc. Drag each tile onto the Isometric Tilemap asset in the Hierarchy view.
Adding Tiles to the Map
Now that we have our tiles, we can start adding them to the map. Select the Isometric Tilemap asset in the Hierarchy view. This will open the Tilemap Editor window.
In the Tilemap Editor window, you will see a grid of squares. These represent the cells on your tilemap. To place a tile, simply click on a square and select the tile you want to use from the dropdown menu at the top of the window. You can also create custom tiles by right-clicking on an empty square and selecting “Create Tile”.
Customizing the Map
Once you have placed all of your tiles, you can start customizing the map. To change the size of a tile, select it in the dropdown menu at the top of the window and then adjust the size slider. To change the color or opacity of a tile, use the same dropdown menu to select a different material.
You can also add layers to your tilemap by clicking on the “Add Layer” button at the bottom of the window. This will create a new layer that you can use to place additional tiles or objects.
Adding Interactivity
Finally, let’s add some interactivity to our map. To do this, we need to create a script that will handle user input and control the behavior of our game objects.
Right-click on the “Assets” folder in the Project view and select “Create” > “C Script”. Give the script a name, such as “IsometricTilemapController”. Double-click on the script to open it in your preferred code editor.
Inside the script, we can use Unity’s built-in input system to detect user input and respond to it. For example, we can use the following code to move a game object horizontally when the left arrow key is pressed:
csharp
void Update () {
