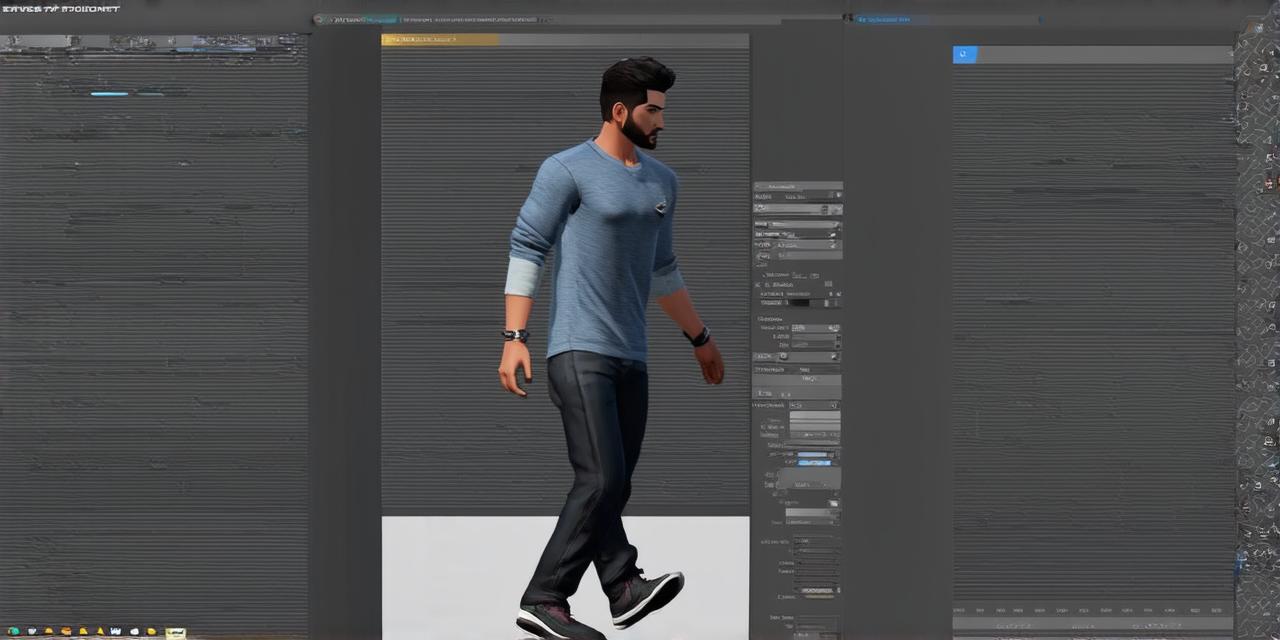
In Unity, creating a walking 3D character is a common task for game developers and artists alike. In this article, we will go through the steps necessary to create a basic walking animation using Unity’s built-in tools.
Creating the Character Asset
Before we can start animating our character, we need to create it. This involves creating a new 3D object and adding textures and other assets to give it a realistic appearance. There are many resources available online for creating 3D models and importing them into Unity.
Alternatively, you can use one of the many pre-made characters available in Unity’s Asset Store.
Once you have created your character, you will need to import it into Unity. To do this, go to File > Import Package, select the package containing your character asset and click Import. Unity will automatically add the necessary components and materials to your project.
Setting up the Animation Controller
Once your character is imported, you will need to create an animation controller to control its movements. To do this, go to Window > Animation > Create > Animation Controller. This will open the animation controller editor, where you can add animations and set up the transitions between them.
Adding Animations
The first step in creating an animation controller is to add animations. To do this, right-click on the “Animations” section of the controller and select “Add Animation”. You will then be prompted to name the animation and select the animation clips you want to use.
Setting up Transitions
Once you have added your animations, you can set up the transitions between them. To do this, right-click on the “Transitions” section of the controller and select “Add Transition”. You will then be prompted to select the animations you want to transition between.
Setting up the Character’s Movement
To make our character walk, we need to set up its movement in Unity. To do this, go to Window > Animation > Create > Animator Controller. This will open the animation controller editor, where you can add animations and set up the transitions between them.
Adding the Walking Animation
The first step is to create a new animator controller by right-clicking on the “Animator” section of the project window and selecting “Create > Animator”. This will open the animator controller in the inspector.
Next, we need to add our character’s walking animation to the animator controller. To do this, drag and drop the animation clip for the walking animation into the “Animations” section of the inspector. This will add the animation clip to the controller and make it available for use.
Setting up the Character’s Movement in Unity
Once we have added our animation clip, we need to set up the character’s movement in Unity. To do this, go to Window > Animation > Create > Animator Controller. This will open the animation controller editor, where we can add animations and set up the transitions between them.
Creating a New Animator Controller
The first step is to create a new animator controller by right-clicking on the “Animator” section of the project window and selecting “Create > Animator”. This will open the animator controller in the inspector.
Adding the Walking Animation to the Animator Controller
Next, we need to add our character’s walking animation to the animator controller. To do this, drag and drop the animation clip for the walking animation into the “Animations” section of the inspector. This will add the animation clip to the controller and make it available for use.
Setting up the Character’s Movement in Unity
Once we have added our animation clip, we need to set up the character’s movement in Unity. To do this, go to Window > Animation > Create > Animator Controller. This will open the animation controller editor, where we can add animations and set up the transitions between them.
