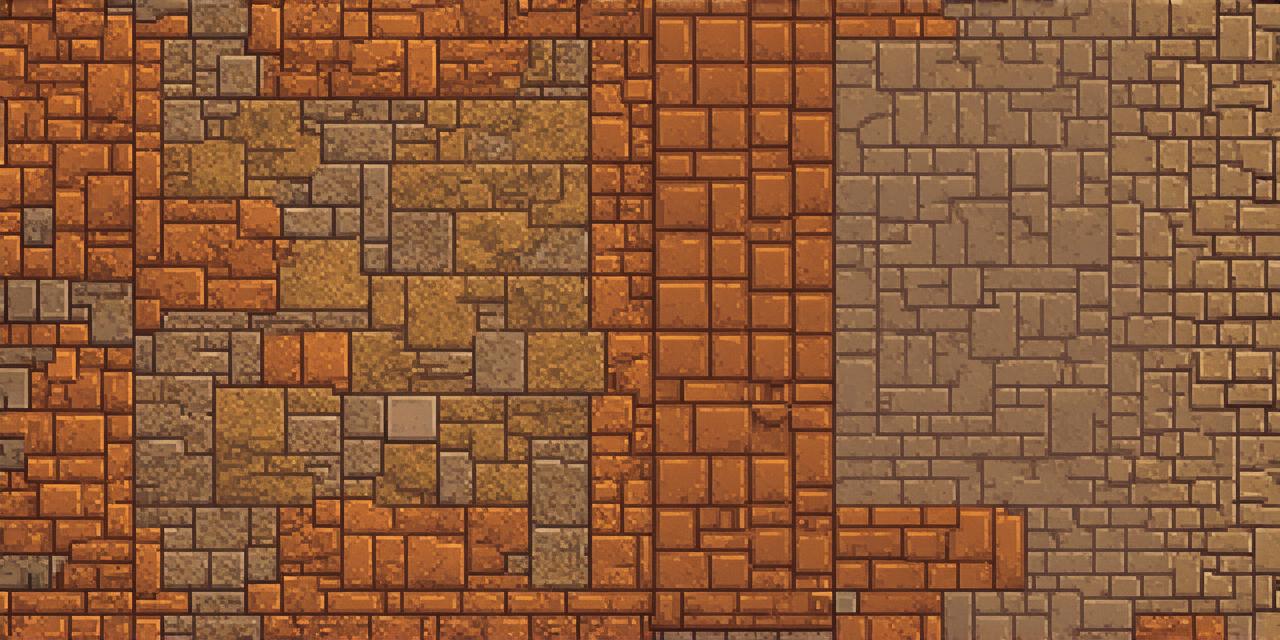
A tilemap is a grid of tiles that are used to create a 2D game or application. In this guide, we will walk through the process of creating a tilemap from scratch.
Understanding the Basics
Before we dive into creating a tilemap, it’s important to understand the basics of what a tilemap is and how it works. A tilemap is a grid of tiles that are placed on top of each other to create a 2D image or game world. Each tile can be different in terms of its size, color, texture, and other attributes.
Tilemaps are commonly used in video games and applications to create backgrounds, levels, and other types of graphical elements. They can also be used to store data, such as the location of objects or enemies in a game world.
There are several different software programs and tools that can be used to create tilemaps, including Photoshop, GIMP, and specialized tilemap editors like Tiled or Mapbox. In this guide, we will use Tiled, an open-source tilemap editor.
Setting up Tiled
The first step in creating a tilemap is to set up Tiled. Tiled is available for Windows, Mac, Linux, and other operating systems. You can download it from the official website or install it using your package manager.
Once you have installed Tiled, open it and create a new project by clicking on the “New Project” button in the top left corner of the window. Give your project a name and choose a location to save it.
Creating the Tilemap
The next step is to create the tilemap itself. To do this, click on the “Add Layer” button in the left-hand sidebar. This will add a new layer to your tilemap.
In the main window, you should see a grid of tiles. These tiles are called “cells.” Each cell represents a single tile in your tilemap. You can resize the cells by clicking and dragging the edges of the grid.
To add tiles to your tilemap, click on the “Add Tile” button in the top left corner of the window. This will open the “Tile Chooser” dialog box, which allows you to select a tile from your project’s images or create a new one.
Once you have selected a tile, it will be added to the current cell in your tilemap. You can then use the arrow keys on your keyboard to move the cell around and place tiles in different locations.
Customizing Tiles
Tiles can be customized in many ways, including their size, color, texture, and other attributes. To customize a tile, right-click on it and select “Properties” from the context menu. This will open the “Tile Properties” dialog box.
In this dialog box, you can set various properties for your tile, such as its size, opacity, and source image. You can also add animations or other special effects to your tile by clicking on the “Animations” tab.
Adding Layers
Tilemaps can have multiple layers, each of which can contain different types of tiles and data. To add a new layer to your tilemap, click on the “Add Layer” button in the left-hand sidebar.
You can also use the “Layer Manager” window, which allows you to view and edit all of the layers in your tilemap. To open the Layer Manager, click on the “Layer Manager” button in the top left corner of the window.
In the Layer Manager, you can rename or delete layers, as well as adjust their order in the tilemap. You can also set the visibility of each layer by toggling the checkbox next to it.
