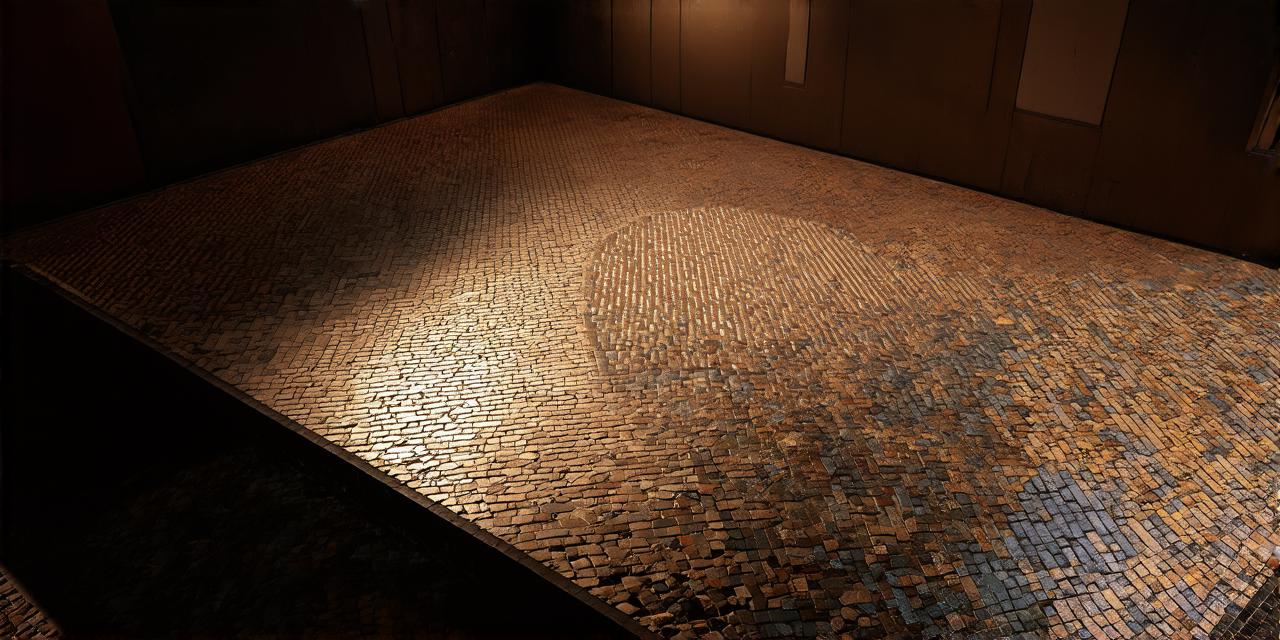
A tilemap is a way of representing a large 2D scene as smaller, repeating sections called tiles. Each tile can have its own unique properties and behavior, which makes it an excellent tool for creating complex environments in Unity. In this article, we’ll take a look at how to create a basic tilemap in Unity.
Step 1: Create a New Scene
The first step is to create a new scene in Unity. To do this, go to the “Assets” menu and select “Create” > “Scene.” This will open up a new scene window where you can set your desired settings, such as the aspect ratio and resolution. Once you’re happy with these settings, click “Create Scene.”
Step 2: Create Tile Layers
Next, we need to create tile layers for our tilemap. To do this, go to the “Window” menu and select “Tilemap Editor.” This will open up a new window where you can create your tilemap. First, click on the “Create New Layer” button at the top of the window. This will add a new layer to your tilemap that you can start filling with tiles.
Step 3: Create Tiles
Once you have your layers set up, it’s time to create some tiles. To do this, go back to the “Assets” menu and select “Create” > “Sprite.” This will open up a new window where you can select a sprite for your tile. You can either choose an existing sprite or create a new one using the built-in tools. Once you’ve selected your sprite, click “Create.”
Now that you have your tiles created, you can add them to your tilemap by dragging and dropping them onto the layer in the tilemap editor. Each tile will be repeated as many times as necessary to fill the entire area of the layer.
Step 4: Set Tile Properties
Once you have your tiles added to the tilemap, you can set their properties. To do this, select a tile by clicking on it in the tilemap editor. Then, go to the “Inspector” window and look for the “Tile” section. Here, you can set various properties such as the collision type, layer mask, and color of the tile.
