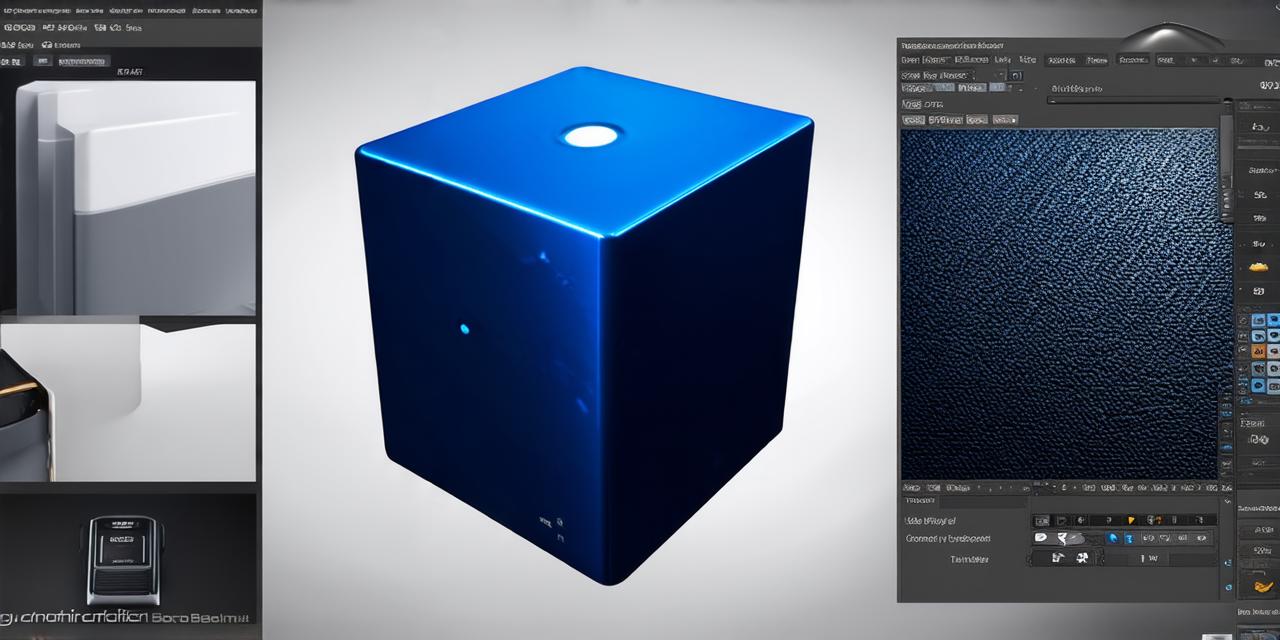
In this article, we will guide you through the process of creating a 3D box in Unity. This is a basic object that you can use to start building your scenes and projects.
Step 1: Create a New Scene
First, open Unity and create a new scene by clicking on “File” > “New” > “Scene”. You will be prompted to choose a template. Select “3D Object Scene” and click “Create”.
Step 2: Add a Box GameObject
Next, go to the “Hierarchy” window (it looks like a tree) on the left side of your screen. Right-click and select “GameObject” > “3D Object”. A new box game object will appear in the Hierarchy.
Step 3: Position and Scale the Box
To position the box, use the mouse to move it around in the scene view (the big square window on the right side of your screen). To scale the box, click on it and use the sliders under the “Transform” section in the Inspector window (on the right side of your screen) to adjust its size.
Step 4: Add a Mesh Renderer Component
To give the box a mesh (a 3D shape), add a “Mesh Renderer” component by clicking on the box game object in the Hierarchy and selecting “Add Component” > “Mesh Renderer”. In the Inspector window, you can see the mesh that is currently applied to the box. You can change it by clicking the “+” button under “Mesh” and selecting a new mesh from your project or from the Assets store.
